How to Reset Your Garage Door Code: A Step-by-Step Guide
Veteran Owned and First Responder Operated garage door services in dayton ohio
Why Resetting Your Garage Door Code Is Important
Your garage door is one of the primary entry points to your home, making security a top priority. Whether you’ve recently moved into a new house, lost a remote, or just want to improve your home’s safety, resetting your garage door code is a smart and simple way to keep unauthorized access at bay.
If your garage door opener has a keypad entry system, resetting the code can prevent previous owners, old tenants, or even potential burglars from gaining access. Fortunately, the process is straightforward and can be done in just a few minutes. Below, we’ll walk you through the steps to reset your garage door code safely and efficiently.
Step 1: Locate the Learn Button on Your Garage Door Opener
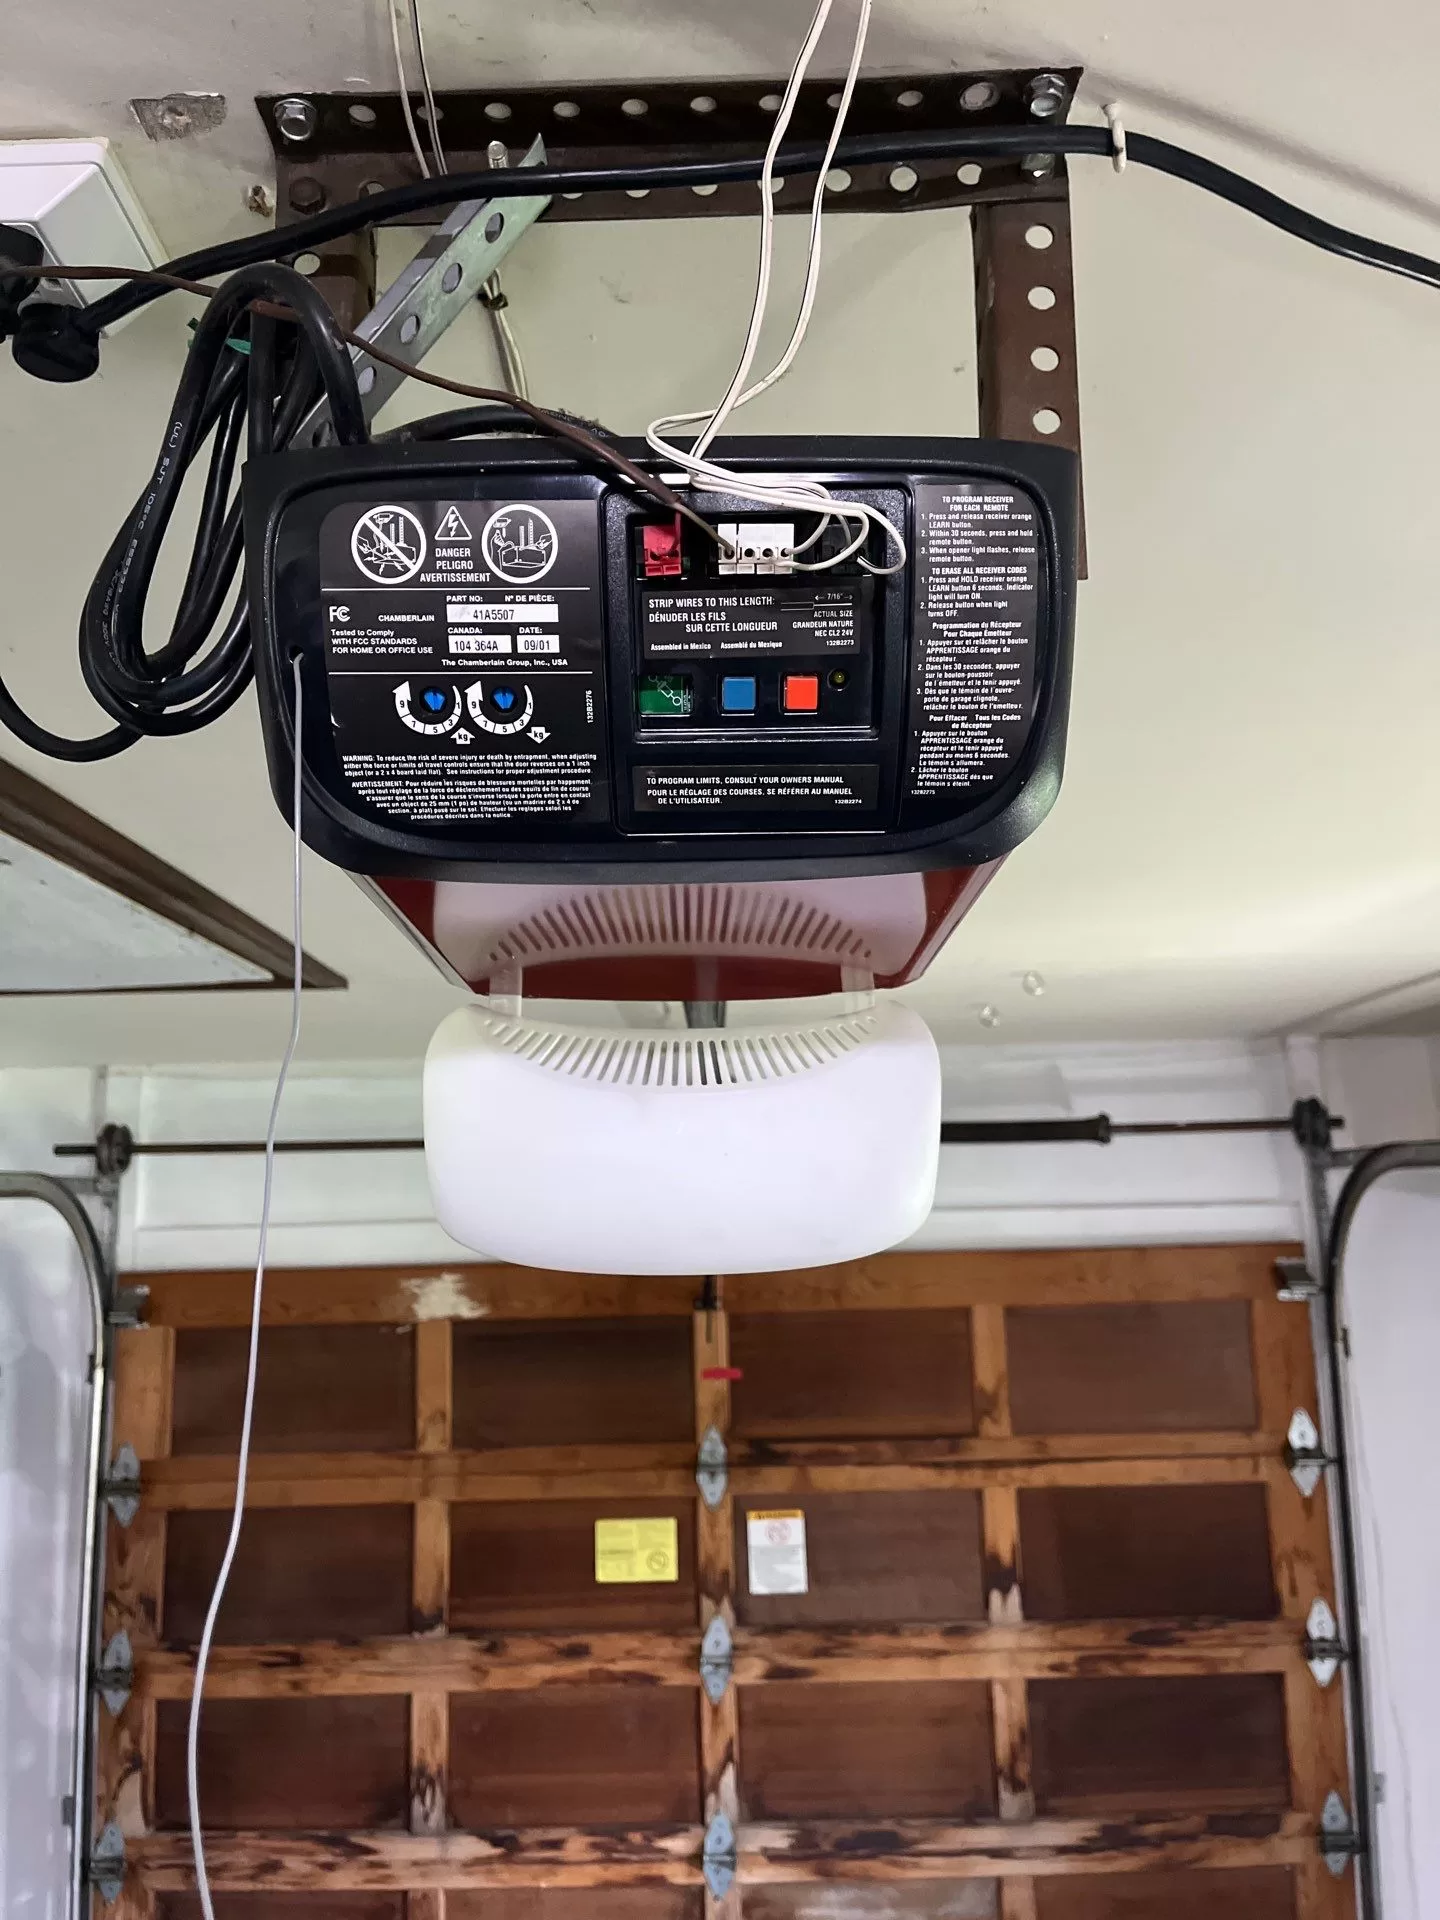
Most modern garage door openers have a “Learn” button, which is used to program new remotes and keypads. This button is typically found on the back or side of the motor unit, usually near the ceiling of your garage.
🔹 Common Locations for the Learn Button:
- Under a light cover on the opener
- Next to the antenna wire
- Near the terminal strip where wires are connected
The color of the Learn button varies by manufacturer but is often yellow, red, orange, or purple. Once you find it, you’re ready to move on to the next step.

Step 2: Erase the Old Garage Door Code
To reset your garage door code, you first need to erase the previous code stored in the system.
🔹 How to Erase Old Codes:
- Press and hold the Learn button for about 6 to 10 seconds until the LED light turns off.
- This action clears all previous remote controls and keypad codes from the system.
- If you have multiple remotes, they will all be disconnected, so you’ll need to reprogram them after resetting the code.
👉 Important Note: If you just want to change the keypad code without erasing remote controls, skip this step and move on to Step 3.
Step 3: Program a New Garage Door Code
Now that the old code is erased, it’s time to set up a new one.
🔹 Steps to Set a New Keypad Code:
- Press the Learn button once (don’t hold it this time). The LED light should start blinking, indicating it’s in programming mode.
- Within 30 seconds, enter your new 4-digit code on the keypad.
- Press the Enter button on the keypad. The garage opener light should blink, confirming the new code is set.
🔹 Steps to Reprogram a Remote Control:
- Press the Learn button on the garage door opener.
- Within 30 seconds, press the button on your remote control that you want to program.
- The opener light will flash or click, signaling that the remote has been successfully linked.
Step 4: Test Your New Garage Door Code
Once you’ve set a new code, it’s time to test it.
- Enter the new code on the keypad and press Enter. Your garage door should open or close.
- If it doesn’t work, repeat the programming steps carefully.
- If you reprogrammed remotes, test each one to ensure they function properly.
Bonus Tip: Change Your Code Regularly for Security
For maximum security, consider changing your garage door code every 6 to 12 months—especially if you have given it out to guests, neighbors, or contractors. Additionally:
✅ Never share your code with strangers.
✅ If your keypad has a “temporary code” option, use it for short-term access.
✅ Upgrade to smart garage door openers that allow remote code changes via an app.
Top Notch Services
Experience top-notchgarage door services in dayton with our company. We pride ourselves on delivering exceptional quality and reliability in every aspect of our work. Our team of skilled technicians is dedicated to providing expert installation, maintenance, and repair services with professionals you can trust.


