Garage Door Opener Installation

Garage Door Opener Installation

Garage door openers are indispensable for modern homeowners, providing convenience, security, and peace of mind. Garage door opener installation can be a daunting task. At Door Service Solutions we offer garage door opener installation and services in Ohio. Contact us today for a quote! In this guide, we’ll walk you through the process of installing a garage door opener step-by-step.
Gather Your Tools and Materials:

Before you begin, make sure you have all the necessary tools and materials on hand. You’ll typically need a power drill, screwdriver, ladder, wrenches, pliers, and a level. Additionally, ensure you have the garage door opener kit, which includes the motor unit, rails, sensors, remote control, and mounting hardware.

Prepare the Garage Door:

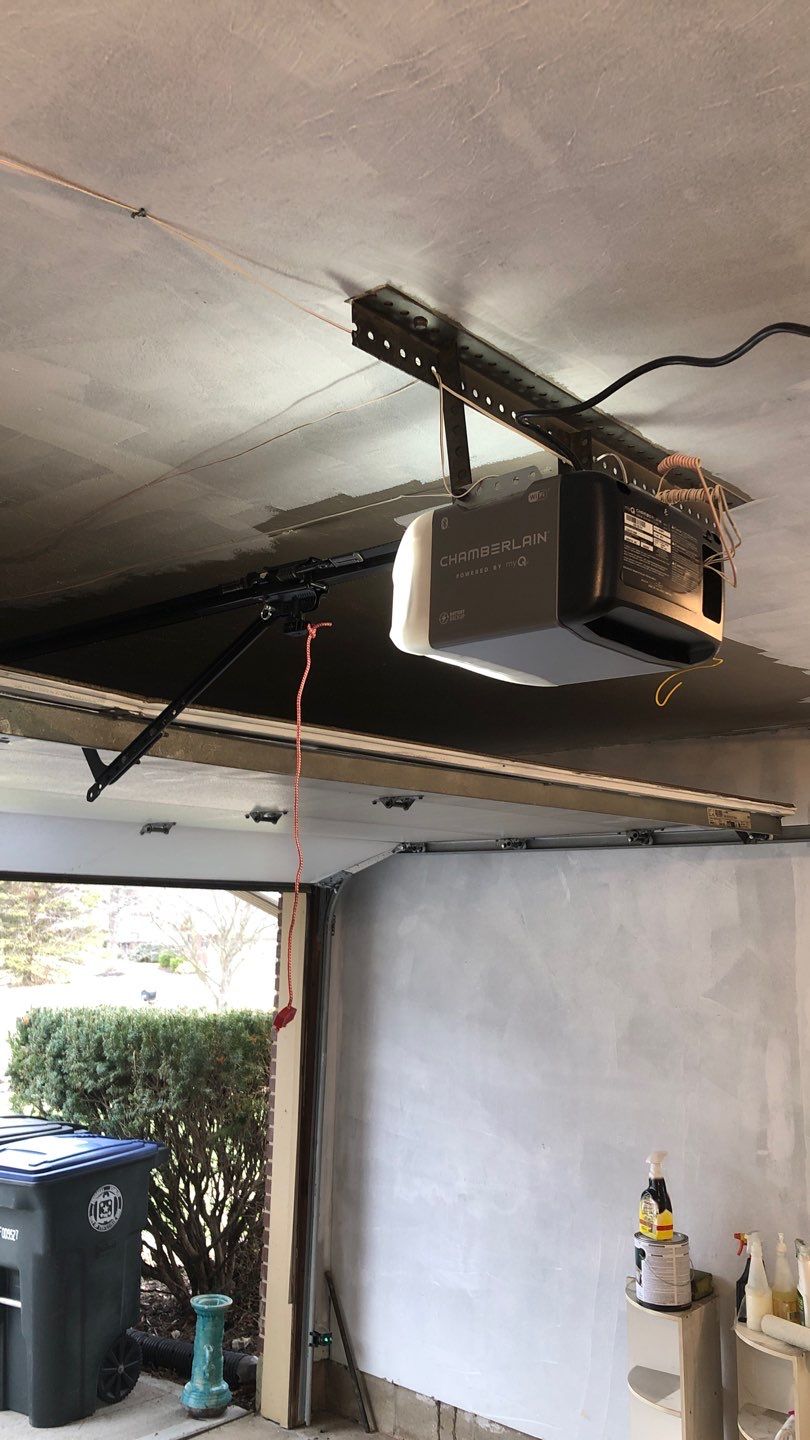
Start by disconnecting the power to the garage door opener and removing any existing opener hardware. Inspect the garage door to ensure it’s in good condition and properly balanced. Follow the manufacturer’s instructions to attach the mounting brackets to the door and assemble the rails according to the provided diagram for proper garage door opener installation.

Install the Motor Unit:

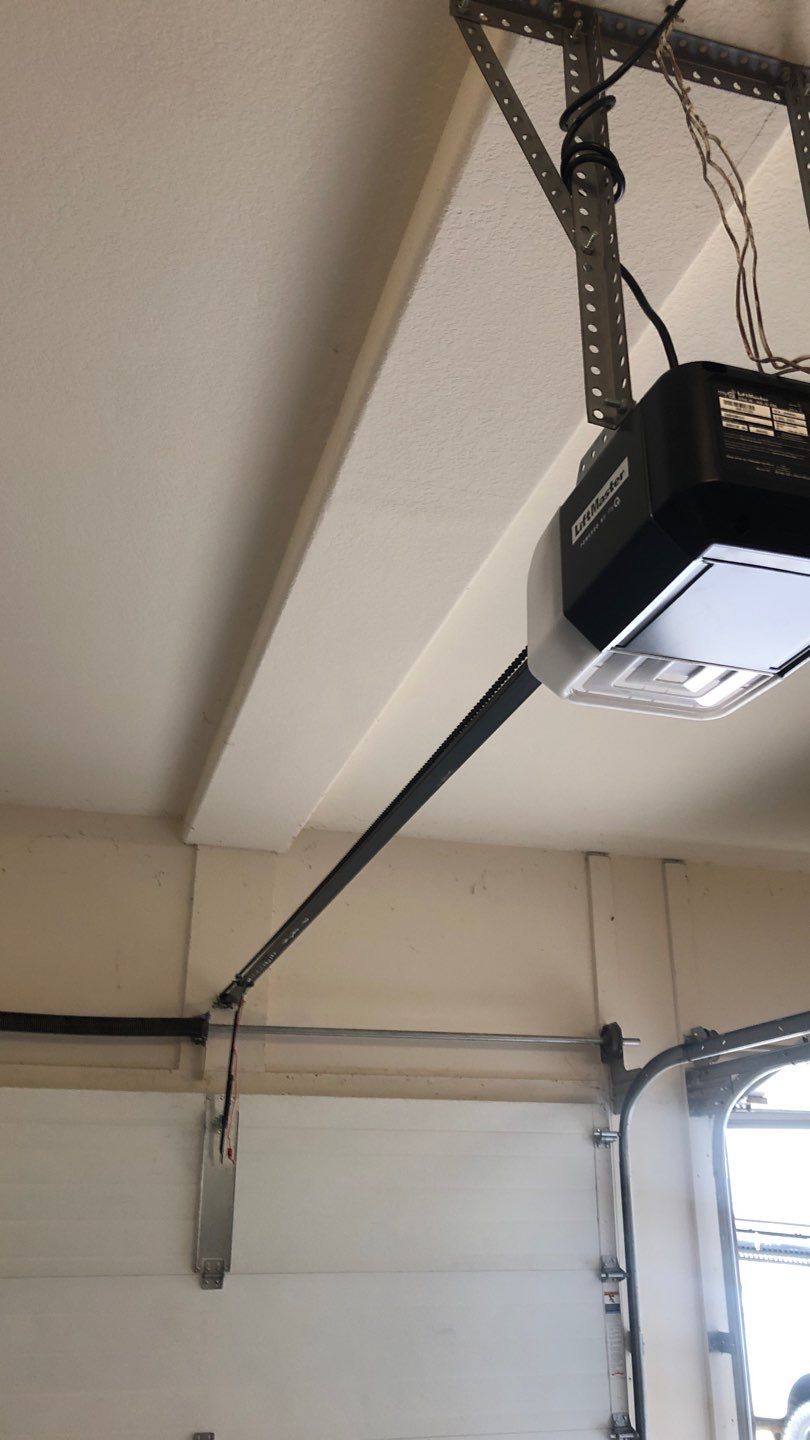
Position the motor unit on the ceiling of the garage, ensuring it’s centered and aligned with the garage door. Use a level to ensure it’s perfectly horizontal, then mark the mounting holes. Drill pilot holes and secure the motor unit to the ceiling using the provided hardware.

Attach the Rail Assembly and Install the Trolley and Drive System:
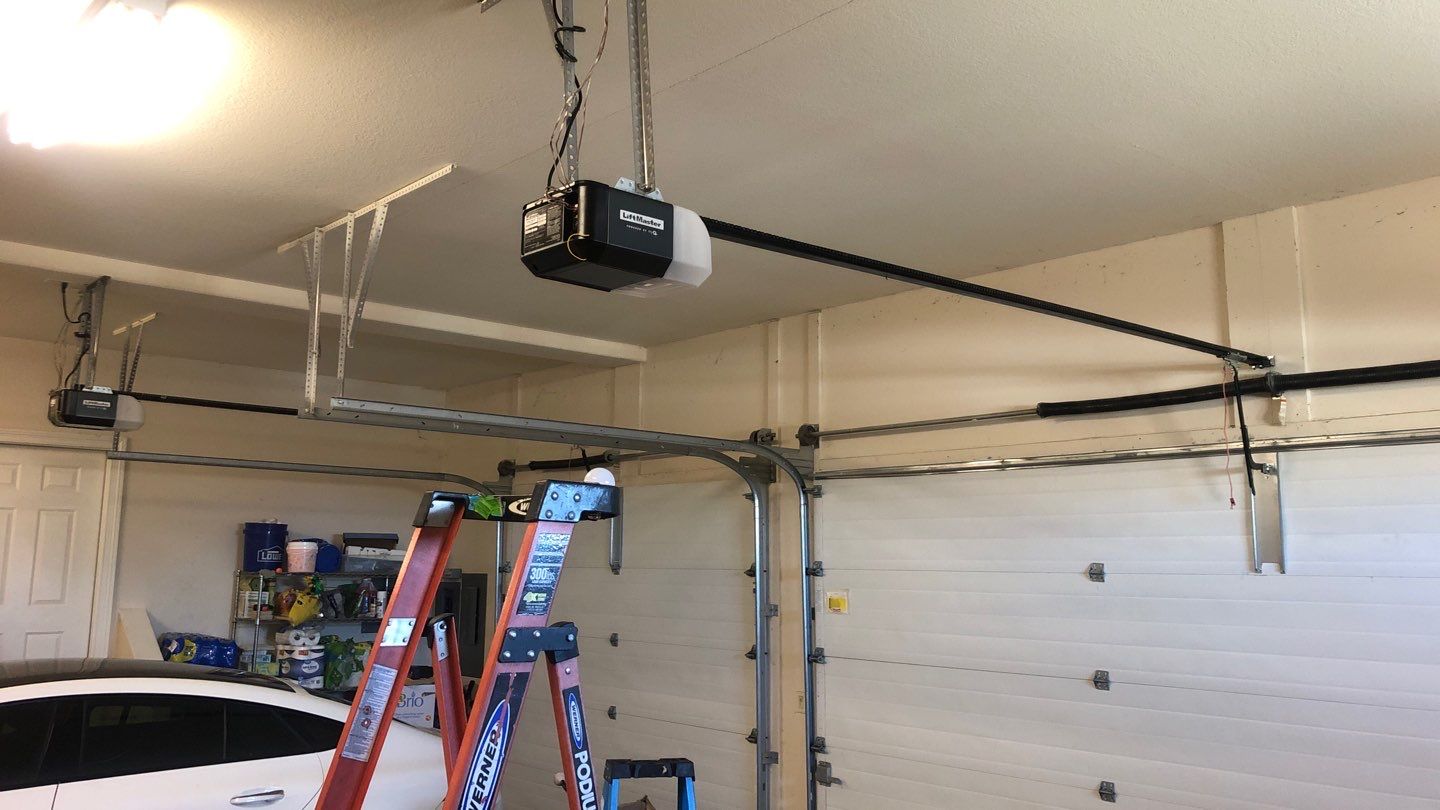
With the motor unit securely in place, assemble the rail segments according to the manufacturer’s instructions. Slide the rail into the motor unit and secure it with the provided bolts. Next, mount the rail to the garage door using the brackets and bolts included in the kit.

For proper garage door opener installation make sure to attach the trolley to the rail and connect it to the garage door using the provided arm. Adjust the tension of the drive chain or belt according to the manufacturer’s instructions to ensure smooth operation.

Mount the safety sensors on each side of the garage door, approximately six inches above the floor. Connect the sensor wires to the motor unit according to the provided wiring diagram. Next, install the wall control panel near the entry door to the garage and connect the wires as instructed.

garage door opener installation

Test the Opener, Secure and Adjust:

Before closing everything up, test the garage door opener to ensure it’s functioning correctly. Operate the door using the wall control panel and remote control, making sure it opens and closes smoothly without any obstructions.

Once you’ve confirmed that the garage door opener is working properly, secure any loose hardware and tidy up the installation area. Make any necessary adjustments to the travel limits and force settings to ensure the door operates safely and efficiently.

By following these steps and carefully following the manufacturer’s instructions, you can successfully install a garage door opener and enjoy the convenience and security it provides. However, if you’re unsure about any aspect of the installation process or encounter difficulties, don’t hesitate to seek professional assistance. With a properly installed garage door opener, you’ll enhance the functionality and value of your home while enjoying effortless access to your garage.